lil todo vee two

logo173x173

I’m working v2 of lil todo, the to-do list app I wrote for Windows Phone 7 last year.

I wrote lil todo for two reasons:

  1. Provide myself with a good to-do app on Windows Phone. Most of the to-do list apps I tried were utter crap.
  2. Learn how to write Windows Phone apps using Silverlight.

Because it was my first attempt at Silverlight and my focus was to get an app up and running, it wasn’t designed very well. It’s not horrible, but the model code isn’t very portable and contains a lot of things specific to Silverlight.

After writing the app, I realized I really wanted a Windows, Mac, and iOS version so I could access it from my other devices. Unfortunately, the design made it hard to port, which leads me to v2…

To the cloud! (And more)

Now it’s time for v2 and I have a lot of ideas already. Here are my goals for v2:

  1. Move to the cloud. A lot of users complained that they couldn’t sync their data in v1.
  2. Support more platforms. It’s almost 2013; let’s support Windows RT, Mac, iOS, and … command line.
  3. Keep the core model code portable. I’ll write it in C++ this time to make it easier to keep it platform-agnostic.
  4. Write the absolute best-looking to-do app on Windows RT. Most Windows RT apps I’ve seen so far are generic and ugly—no taste. Let’s see if I can do better.
  5. Support live tiles on Windows Phone and WinRT. A lot of users requested this feature in v1.
  6. Add notifications. This is another missing v1 feature.

Command Line?

I’m serious about the command-line interface. I’ve always thought that the best way to ensure that you don’t write too specifically for one platform is to intentionally design your app to handle a text-based mode. If you can handle that as you are designing for a modern UI, your business logic code should be fairly platform-agnostic.

My first prototype, which is partially working already, will be written in Ruby. Ruby’s a great language for rapid prototyping, although I’ve never really used it for that. My plan is to hash out the overall design using Ruby and via a command-line interface. Everything will be done using CLI and will save to temporary storage (maybe not SkyDrive or Dropbox yet). However, the concepts should be absolutely the same as the final product, which I will write in C++ and overlay with a platform-specific UI (i.e. XAML stuff on Windows RT/Windows Phone, and Cocoa stuff on Mac/iOS).

Watch this space for updates during the holidays!

grinch-cindy-lou-who

I wrote an ANSI interpreter

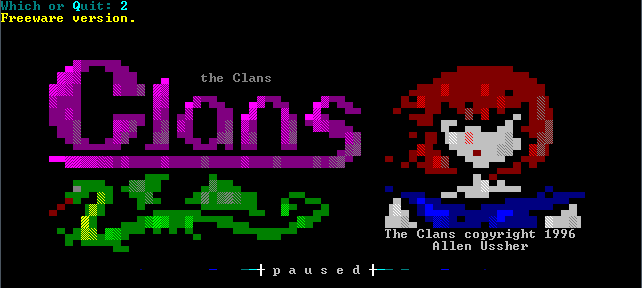
Just for fun, I wrote an ANSI interpreter. It was surprisingly easy.

ANSI was hugely popular in the late 80s and then the 90s when BBSes were popular. They were an encoding system that allowed text to be displayed in different colors. ANSI escape codes generally take the form of ESC[{params}{char} where ESC is the escape character, \x1B, {params} is an optional list of numbers, delimited by semi-colons, and being the last part of the sequence, {char} dictates what formatting to apply, such as changing text color, enabling bold, or even moving the cursor around the screen.

Writing the interpreter was simple. I just needed to create a state machine whose state changes whenever a new character is read in from the ANSI file. The interpreter reads in characters and prints them out as it goes along. However, when it encounters an escape character, 0x1B, it goes into a state where it’s looking for ‘[‘, and if that succeeds, it goes into a “looking for parameters” state, and finally a “looking for the {char}” state. Once it gets that last char, it tells “executes” the command.

Go ahead and take a look at the source on bitbucket. It’s called Pansi. 😉

Here’s a video demonstrating it in action. I’ve hooked it up to a simple text renderer engine. However, my text renderer is using a free 8×8 bitmap font that does not have support for extended ASCII characters, and so I’ve had to cheat and just treat all those high-bit ASCII characters as 8×8 blocks. Hence, the artwork doesn’t look quite right. If you like the artwork in the demo and want to see them in full, download them at ACiD’s site.

Quick Start Guide to C=64 Assembly

I came across this great link today:

Commodore 64 Programming #1: A quick start guide to C=64 assembly programming on Windows

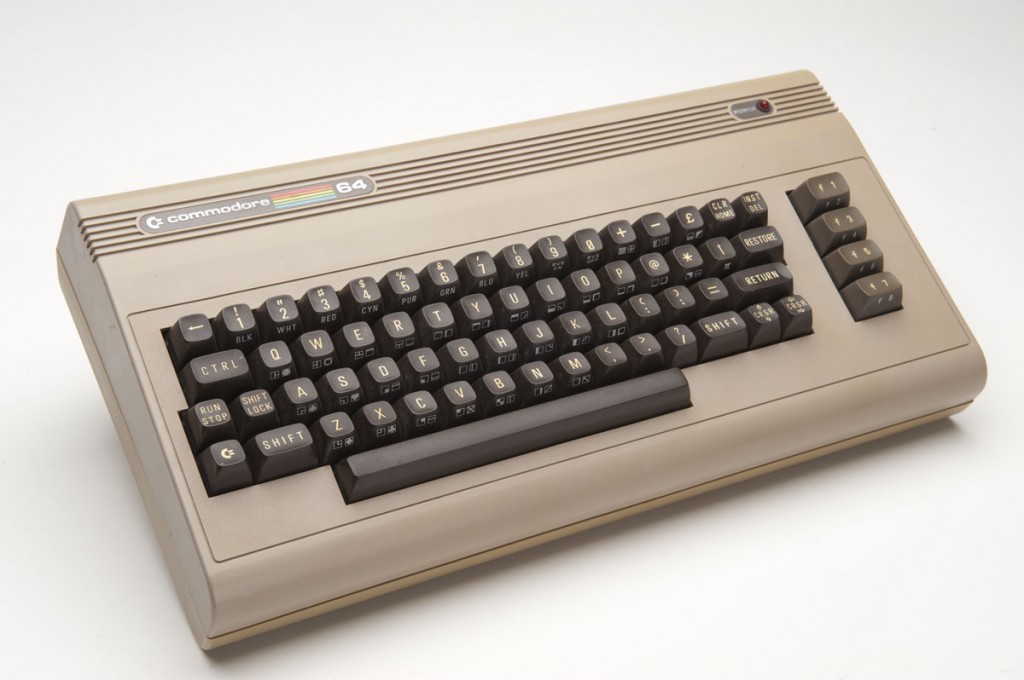
The Commodore 64 is a great system that no hacker should be without. I didn’t have one as a kid, but I did buy one a year ago. Unfortunately, I haven’t devoted the time to playing with it as I thought I would. However, maybe the above easy instructions will change that. There are a lot of resources, I’m sure, on getting started hacking on the C=64 today, but this is a nice simple one that gets you writing some simple assembly and seeing results instantly.

For those running Mac OS X:

If you download the Cocoa version, launch the x64 app and hit cmd-O to open up the test.prg file you created with DASM.

Running on Real Hardware

Finally, if you have real hardware, I recommend getting an SD card reader for your Commodore 64. The one that I have is the uIEC/SD from jbrain.net: http://store.go4retro.com/categories/Commodore/Hardware/uIEC/ You just dump your d64 files (or the test.prg from the sample above) onto an SD card, plug it into the device, boot up your C=64, and you’re good to go.