After a lot of reading up on safety precautions and watching a lot of YouTube videos on CRT monitor discharging, I took the plunge.
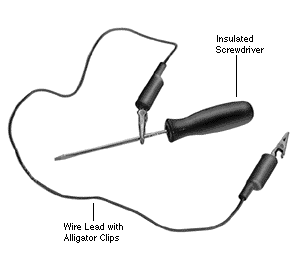
First, I made a discharge tool. I took a flathead screwdriver and soldered an insulated wire to its shaft. I took the other end of the wire and attached an alligator clip to it. I soldered this end as well. I wrapped both soldered connections in electrical tape. I neglected to take a photo of the thing, but here’s a diagram of what it might look like if you used alligator clips on both ends of the wire:
I delayed discharging the monitor for as long as I could just because I was chicken. Finally, in the middle of the afternoon, I figured I should do it. I clipped the alligator clip to the frame, put my free hand in my pocket, and then slowly inserted the screwdriver tip under the anode cup. I have to admit it was frightening.
I slowly inserted it closer to the leads of the anode and next thing you know, I can feel it hitting the leads. And yet, no pop. That was it. I discharged the monitor uneventfully.
I was a bit underwhelmed and also a little scared that maybe I did it wrong, so I tried again. Still, no pop. I decided to go for it and pry the anode out using the screwdriver. After a few seconds, I got it off. Nothing to it!
I made contact with the hole at the top of the tube to verify there was no more charge. I found none at all, so that was it. The last time I turned on the monitor was a week earlier, so I suspect it discharged itself in that time. I’ve heard that the Wells Gardner K7000s don’t really hold a charge for very long, so that’s likely part of it. Anyway, it was overall much easier than I thought. As this page says,
It’s a little frightening the first couple of times, but the thrill wears off.
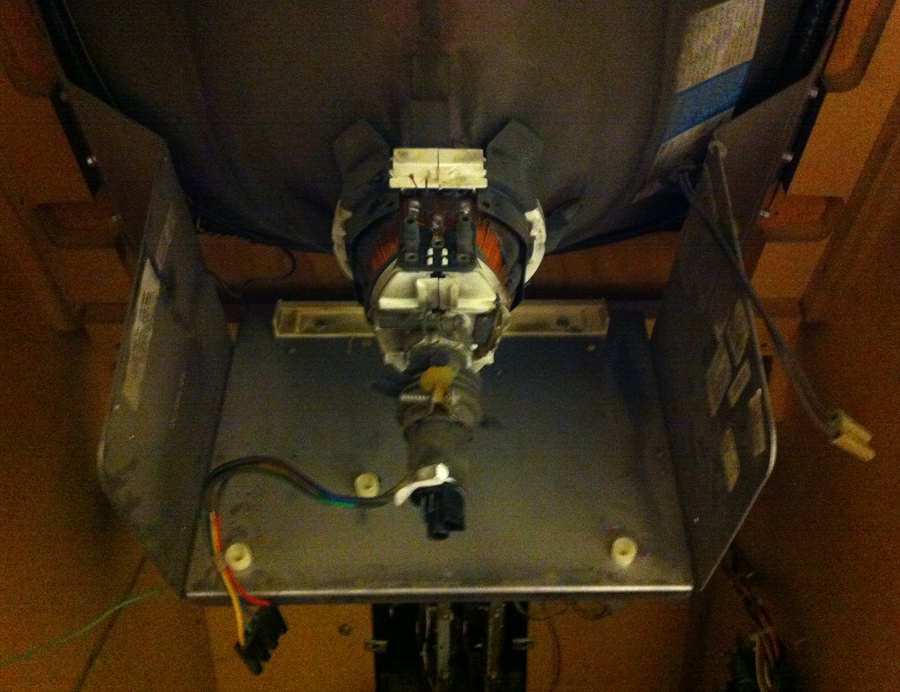
In the end, here’s what the cabinet looks like without the monitor chassis:
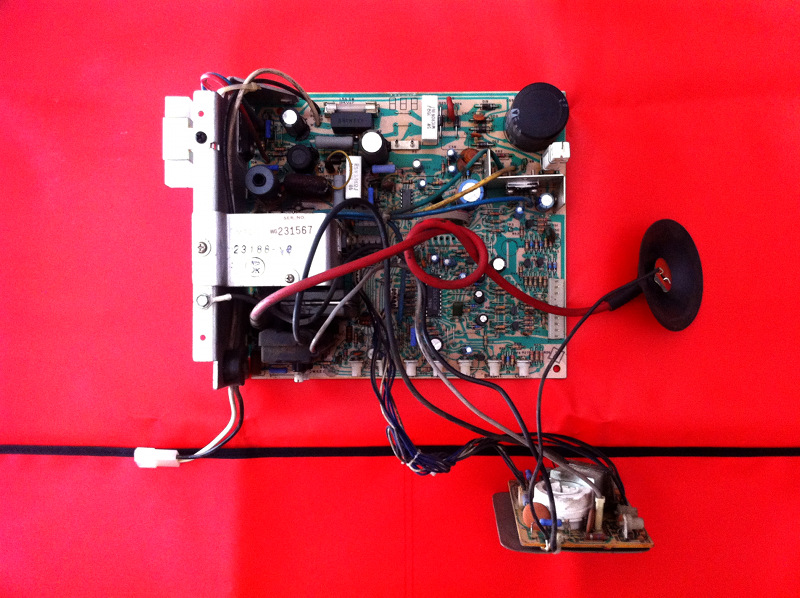
Here’s what the chassis looks like after removal:
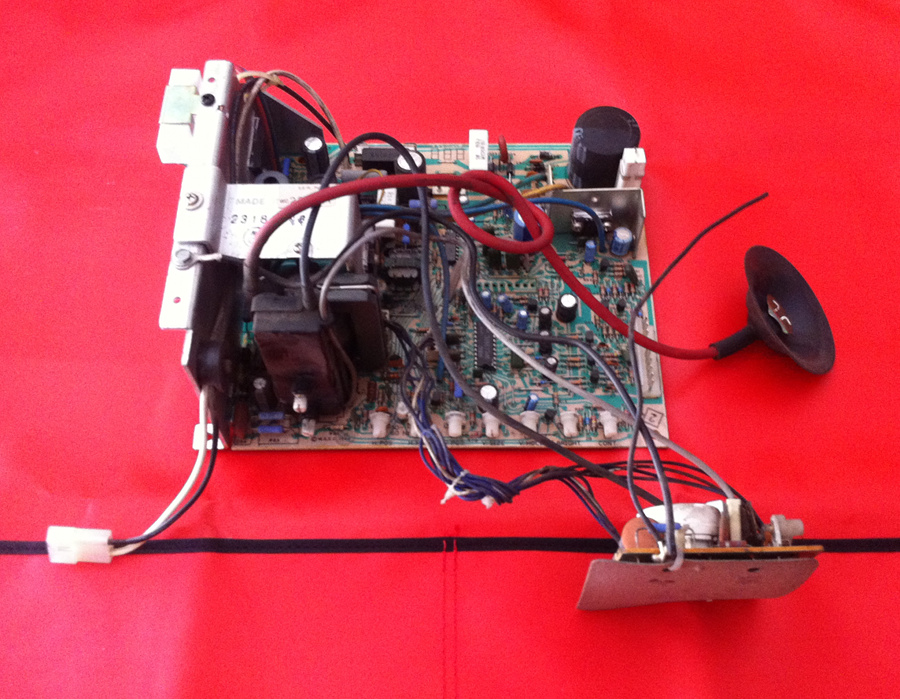
A better view of it:
 The next step is to inspect the board, fix bad solder joints, replace the flyback, and replace the capacitors.